Making a cute bead brooch is quite simple: a master class is also suitable for beginners.

This master class shows the technique of creating brooches from beads on felt. You can make a brooch in the form of a whale or choose another variant of the picture and act on the same principle.
Do-it-yourself brooch "Bottle" of beads and sequins
You will need:

- beads of 5 types (see photo);
- sewn on rhinestones (in the form of droplets and 1 round black for the eye);
- thin strong threads - dark gray, light gray and black;
- needle for sewing on beads;
- gray felt;
- genuine leather of black color;
- pin fastener for brooches;
- universal strong glue;
- scissors;
- cardboard;
- a pencil;
- a sheet of paper for drawing (office, for example);
- paper scissors.
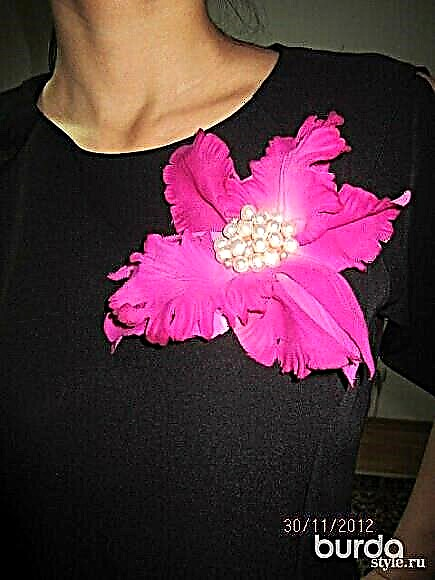
DIY flower brooch for half an hour
Step 1

Draw a sketch of your brooch on paper with a pencil. You can make a drawing similar to that in the photo, invent your own or find it on the Internet and print or redraw your favorite picture. Make a life size drawing of the future brooch and cut it out.
Transfer the drawing to felt.
Step 2

Sew large rhinestones on the tail and fin, and small in place of the eye. Black rhinestone is sewn with black thread, blue rhinestone with light gray thread.
Step 3

Let's start beadwork with a whale belly.We use light gray beads and the same thread. Embroider first along the contour.
Follow the scheme:

Step 4

Embroider the top and bottom lines in the same way. Use dark blue beads and a dark gray thread. Please note: the parts of the tail and fin of rhinestones so far remain without a contour of beads.
Step 5

Sew the largest strass on the back of the whale.
Step 6

Starting from the bottom line, embroider with beads according to the above pattern the whale's abdomen. Embroider stripe after stripe: they imitate stripes on a whale's stomach. Do not forget to embroider the corner to the right of the fin. In narrow places you can use beads of the same color, but smaller.
Step 7

We embroider the main part. Sew the beads not in a line, but randomly, but use the same pattern and try to make the beads fit tightly.

Embroidery is ready.
Step 8

Cut the embroidery, departing from the edge of 1-2 mm.
Step 9

Circle the paper template that we drew at the beginning on the cardboard and cut it out, making it 3 mm smaller around the entire perimeter. Glue the cardboard part from the inside of the embroidery.
Step 10

Circle the paper template on the skin and the wrong side, add 1 mm on all sides and cut. Designate a place to fasten.
Step 11

Make small cuts in the leather part and insert the pin.
Step 12

Glue the leather part to the wrong side brooch.
Step 13


Thread a double thread into the needle. Make a knot and fasten the thread with a loop, as shown in the first photo. Put the bead on the needle and lower it to the seam line. Enter the needle from the inside of the brooch and put it on your face, capturing both felt and skin. Draw the needle again into the bead hole and pull the needle out.Now you can take the second bead and act on the same principle.
Schematically, it looks like this:

Step 14

When finished, fasten the thread and hide the tip. The brooch is ready!

Photo and source: beadsmagic.com